
News

How to Choose a Timer Switch for Lights

A Timer Switch For Lights can make a hallway feel welcoming before you arrive and keep a porch light from burning through the night. Choosing one takes more than picking a schedule. Check the switch type, the connected lighting load, and whether the timer works with LED bulbs. A model made for incandescent lamps may not operate reliably with low-wattage LEDs.

Lighting-controls specialist Elena Park puts the decision this way: “A timer should match the light, the wiring, and the routine—not just the clock.” Treat that as a practical guide, not a substitute for checking the product’s specifications. Some homes have neutral wires at the switch; others do not. That small detail can rule out an otherwise attractive model.

Think about the room in real use. Does the porch need a dusk-to-dawn setting, or a fixed shutoff time? Will someone still need to turn the light on manually? A clear display and an easy override matter on a rushed evening. So does a schedule that survives a brief power loss.

Small details matter.

This guide explains how to compare mechanical, digital, and smart timers, review compatibility, and choose useful features without paying for extras you may never use. The honest caveat: product labels can be confusing, and home wiring is not always obvious. If the wiring or load rating is uncertain, pause and ask a qualified electrician before installation.
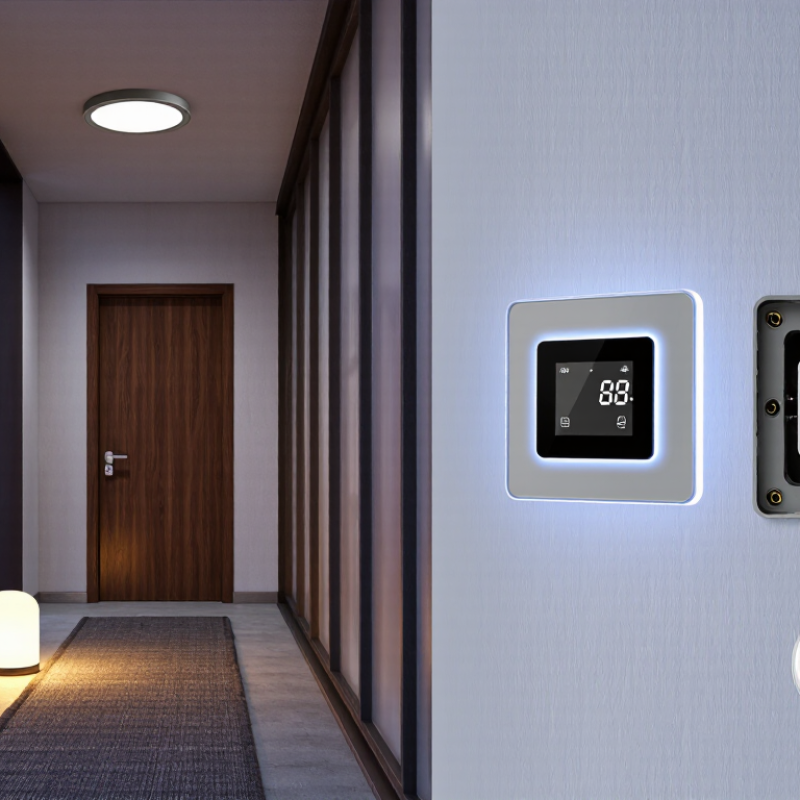
How to Choose a Timer Switch for Lights

Understand How Timer Switches Control Lights

A timer switch controls a light by opening or closing its electrical circuit at set times. Some models use a simple countdown, while others follow a daily schedule or respond to a preset interval. With a scheduled switch, you might set a porch light to turn on at 6 p.m. and off at 11 p.m. The switch does not make the bulb brighter; it determines when power reaches it.

Check how the timer is powered and what load it supports. Some electronic models need a neutral wire, while others do not. LED bulbs can also behave differently from incandescent bulbs, so check the switch’s stated compatibility and minimum load. One detail that is easy to miss is the manual override: it can be handy when you come home late, but the light may stay on until you reset the schedule. A timer helps automate lighting, though it is not a substitute for checking the light itself.

Tips: Before choosing, note the light’s voltage, bulb type, and daily schedule. Look at the wiring instructions, too. If the wiring is unfamiliar, ask a qualified electrician rather than guessing. Timer settings are not always intuitive; test the on and off times for a few days, then adjust them to match your routine.

Identify Your Lighting Circuit and Control Requirements

Before choosing a timer switch, identify what the wall box controls. Turn off power at the breaker and verify the circuit with a suitable tester. Wire colors alone are not proof. Is it a single-pole circuit or a three-way setup controlled from two locations? Note the supply voltage, presence of a neutral wire, and lamp type: LED, incandescent, fluorescent, or low-voltage. Details matter.

Match the timer to the circuit and actual load. Check its voltage rating, supported lamp types, minimum load, and maximum wattage. Add the wattage of every lamp on the switch. LED drivers may behave differently from incandescent bulbs, especially at low loads. A general wattage limit may not tell the whole story. The U.S. Department of Energy reports that residential LEDs use at least 75% less energy than incandescent bulbs. They can last up to 25 times longer. That shift makes LED compatibility worth checking, not assuming.

Define the control you need: scheduled on/off times, a countdown, dusk-based control, or manual override. A porch light may benefit from dusk-based operation. A combined fan and light may need separate switching and load ratings. If two wall locations operate one fixture, choose a timer rated for that arrangement. A mismatch can cause flickering or unreliable switching. I would not guess at unfamiliar wiring; ask a qualified electrician to check it. One small detail can change the choice.

Compare Timer Types, Features, and Compatibility

How to Choose a Timer Switch for Lights

Compare timer types before comparing features. A mechanical dial is simple: set the on and off times by turning tabs around a clock face. Digital models offer finer schedules, weekday settings, and sometimes sunrise or sunset control. For a porch light, that can mean a changing schedule without weekly adjustments. Small detail. Big difference.

Check the wiring and load before buying. Some switches need a neutral wire; others are designed for installations without one. Confirm voltage, maximum wattage, single-pole or three-way wiring, and whether the switch supports LED bulbs. The U.S. Department of Energy says LEDs use at least 75% less energy than incandescent bulbs, but low-wattage LED loads can still flicker with incompatible controls. Check the switch’s stated LED compatibility, not just its total wattage rating.

Think about what you want the timer to do. A manual countdown timer suits a bathroom fan or short evening task; a programmable model is better for regular routines. In a 2012 review of commercial-building studies, Lawrence Berkeley National Laboratory reported median lighting-energy savings of 24% for occupancy sensors. That figure is not a timer-switch estimate, but it shows how control choices affect results. I’d also check whether the display stays readable in a dim hallway; product listings do not always make that obvious.

How to Choose a Timer Switch for Lights

Compare typical scheduling capabilities. Features vary by model, so check the product specifications and confirm compatibility with your wiring, lighting load, and required neutral wire.

Quick guide: Mechanical timers suit simple repeating schedules. Digital timers offer more flexible day and time programming. Astronomical timers can schedule lights around local sunrise and sunset; some require location setup. Always verify the timer’s load rating and installation requirements.

Check Installation Conditions and Safety Requirements

Before choosing a light timer, check what is already inside the wall box. A plug-in timer and a hardwired switch have different installation requirements. Confirm the circuit voltage, maximum load, wire arrangement, and whether a neutral wire is required. LED lamps can draw a brief startup current, so do not judge compatibility by steady wattage alone. Check the timer’s instructions for LED or electronic-driver loads. Small detail, big consequence.

Match the device to its location. A timer in a bathroom, garage, or covered outdoor area may need a suitable damp- or wet-location rating. Also check box space, grounding, and whether the circuit is controlled by more than one switch. If wires are damaged, labels are unclear, or the installation differs from the instructions, stop and ask a qualified electrician. The U.S. National Fire Protection Association’s report on electrical distribution and lighting equipment estimated an annual average of 32,620 home structure fires in 2015–2019, with 430 civilian deaths and $1.3 billion in direct property damage. That figure covers many kinds of equipment, not timers alone, but it is a useful reminder: a correct electrical rating does not guarantee a safe fit in every box.

How to Choose a Timer Switch for Lights — Check Installation Conditions and Safety Requirements

Selection Dimension What to Check Practical Guidance Safety Consideration
Supply voltage and circuit Confirm the circuit voltage and frequency from the existing switch documentation, electrical panel information, or a qualified electrician. Choose a timer specifically rated for the supply system and intended installation. Do not assume that timers designed for different voltage systems are interchangeable. Turn off the circuit at the breaker and verify that power is off before any switch work. Follow local electrical codes.
Light and load type Identify whether the lights use incandescent, halogen, fluorescent, or LED lamps, and check the total connected load. Confirm that the timer’s specifications support the lamp type and load. LED drivers and fluorescent ballasts can have different electrical characteristics from resistive lighting loads. Do not exceed the timer’s stated load rating. Check any separate limits for LED, fluorescent, or other electronic loads.
Switch wiring and neutral availability Check the wiring arrangement and whether a neutral conductor is present in the switch box, if the timer requires one. Compare the timer’s wiring diagram with the actual circuit. Some timer models require a neutral; others are designed for installations without one. Wire colors and arrangements can vary by installation and location. Do not identify conductors by color alone; consult a qualified electrician if uncertain.
Single-pole or multi-way control Determine whether the light is controlled from one location or from two or more locations. For multi-way circuits, select a timer explicitly compatible with that arrangement and follow its specified wiring method. A standard single-pole timer may not work safely or correctly in a multi-way circuit.
Installation location and environment Check whether the switch will be indoors, outdoors, in a damp area, or exposed to dust, moisture, or temperature extremes. Use a timer and enclosure rated for the location. For outdoor or damp installations, verify the required environmental and enclosure ratings for the site. Do not install an indoor-only device where it may be exposed to moisture or conditions beyond its marked ratings.
Electrical box and physical fit Measure the available box depth and check the number of conductors and devices already inside. Make sure the timer fits without forcing wires or interfering with the cover plate. Check the manufacturer’s instructions for box and mounting requirements. Overcrowding can damage insulation and make connections unsafe. Box-fill requirements vary by jurisdiction and should be observed.
Timer operation and schedule Decide whether you need a countdown, daily schedule, sunrise/sunset function, or manual override. Choose a control type that suits how the lights are used. For scheduled operation, check how the timer handles power interruptions and daylight-saving changes, if relevant. Ensure the controls are accessible without opening the electrical enclosure or exposing live parts.
Ratings, certification, and instructions Review the device label for voltage, load, location, and applicable safety certification or approval markings. Use a properly approved timer that is suitable for the intended application, and keep its installation instructions available. If the circuit, wiring, or local requirements are unclear, have the installation assessed and completed by a licensed or qualified electrician.

Important: Electrical requirements differ by location and circuit. Always follow the timer’s instructions and applicable local codes; hire a qualified electrician when you are unsure about wiring, ratings, or installation conditions.

Choose a Timer Switch That Fits Your Setup

A timer switch should match your wiring and lights, not just the wall plate. Check whether the electrical box has a neutral wire; some timers require one, while others use different wiring. Turn off the breaker before inspecting the box. If the wires are unfamiliar or the setup does not match the instructions, ask a qualified electrician. Guessing here is not worth it.

Next, check the timer’s load rating and whether it supports your bulb type. A row of LED fixtures may flicker or stay faintly lit with an incompatible switch, so look for LED support and any minimum-load requirement. Also confirm whether the lights are controlled from one location or two; a multi-location circuit may need a compatible timer.

Think about the routine, too: a porch light might need a different schedule from a hallway light. Choose a timer with settings you can actually use, such as a clear manual override. Tiny buttons are easy to overlook in a shop, but frustrating at home. A quick photo of the existing switch and wiring can help you compare the setup with the timer’s instructions.