
News
How to Choose the Best Solar Panel Street Light?
A Solar Panel Street Light can illuminate a driveway, farm lane, parking area, or remote road without trenching power cables. Yet a bright product photo tells little about how it performs after several cloudy days. The right choice depends on more than advertised wattage. Compare usable battery capacity, panel output, verified lumen ratings, operating hours, and control options. Small details matter. A motion sensor can conserve stored energy, while a poorly placed panel may lose sunlight behind a roof edge or tree. Climate, mounting height, and nighttime traffic also affect performance. Even a detailed specification sheet cannot replace checking the actual site.
This guide explains how to assess light output, battery capacity, panel size, weather resistance, installation needs, and long-term value. It also covers how to read product specifications and review warranty terms before buying. Some advertised figures describe peak performance, not dependable nightly output. That distinction is easy to miss. A light that works well through a mild summer may struggle during short winter days, so consider local sunlight and the hours of illumination you need. Compare the manufacturer’s claims with available test information, and ask how the system manages extended cloudy periods. No single model suits every location. A careful choice begins with realistic conditions, not the biggest number on the box.
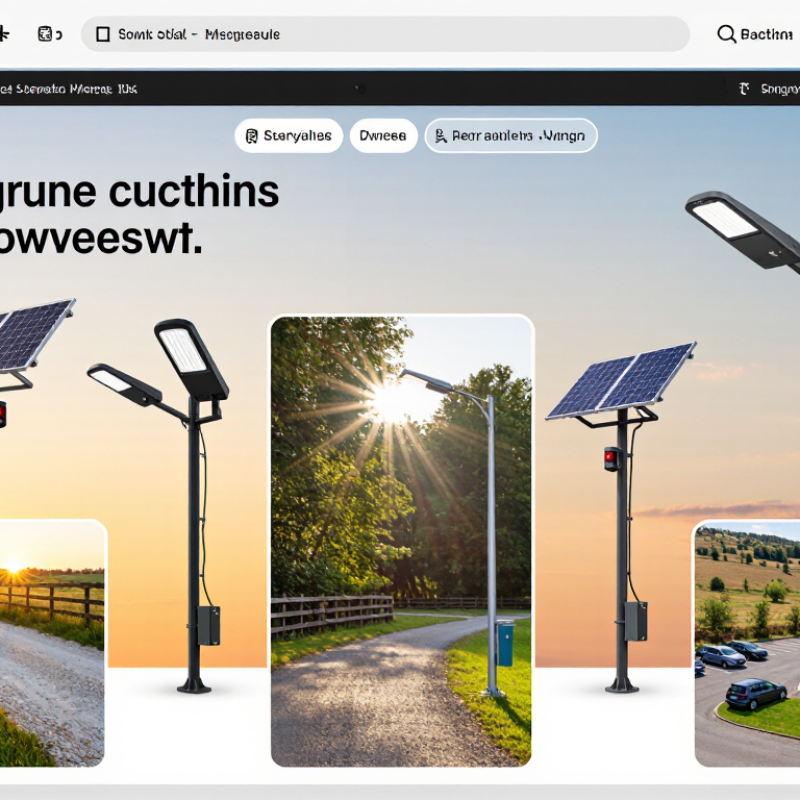
Identify the Lighting Requirements and Intended Application
Before comparing wattage, define the site: a residential lane, parking area, pathway, or road junction. Each application needs different coverage, uniformity, and operating hours. A narrow path may need modest output and controlled optics. A junction needs broader coverage and fewer dark gaps. IES RP-8-22 bases roadway lighting design on roadway and user conditions, so fixture lumens alone are not enough. The IEA’s Energy Efficiency 2023 report estimates that lighting uses about 15% of global electricity. This figure covers lighting broadly, not streetlights alone, but it reinforces the value of matching output to actual need.
Walk the site at night, then note pole height, spacing, tree shade, and nearby windows. Count the hours the light must operate, and decide whether motion-based dimming suits the location. Check seasonal solar availability with NREL’s National Solar Radiation Database, which provides hourly solar and weather data. Annual averages can hide weak winter charging. That detail is easy to miss.
Tips: Sketch the area and mark dark corners before selecting a fixture. Record the longest expected night and the least sunny season. If the site has heavy shade, reassess the pole location; a larger panel may not solve every charging problem.
How to Choose the Best Solar Panel Street Light? - Identify the Lighting Requirements and Intended Application
| Intended application | Indicative lighting target | Typical mounting height | Layout considerations | Solar system priorities |
|---|---|---|---|---|
| Residential streets | About 5–10 lux average maintained illuminance as an initial planning range; confirm the applicable road-lighting class. | Approximately 6–8 m | Check road width, intersections, driveways, trees, and uniformity. Pole spacing should be confirmed with a photometric layout rather than assumed from height alone. | Size the battery for the required overnight schedule and local low-sun season; use a dimming profile only if the required light level is maintained. |
| Pedestrian paths and walkways | About 2–5 lux average maintained for many basic walkway settings; increase where activity, hazards, or local rules require it. | Approximately 3–5 m | Prioritize continuous coverage at steps, ramps, crossings, and bends; control glare and avoid dark gaps between luminaires. | A lower output may reduce energy demand, but check winter autonomy and ensure the panel receives unobstructed sunlight. |
| Parking areas | About 5–10 lux average maintained for many low-activity areas; busier locations may need higher levels and stronger uniformity. | Approximately 6–10 m | Assess parking-bay geometry, pedestrian routes, entrances, and vehicle maneuvering areas. Verify coverage with photometric calculations. | Consider scheduled dimming during quiet hours, with adequate light retained for safe access and any applicable security requirements. |
| Local roads and access roads | Often around 7.5–15 lux average maintained as an early planning range; road class, traffic, and local standards determine the required value. | Approximately 8–12 m | Include road width, curves, junctions, pedestrian crossings, and required uniformity in the lighting design. | Higher output increases energy demand. Check worst-month solar yield, battery autonomy, and the full-night operating profile before selecting system capacity. |
| Perimeter and security zones | Set the level according to the security task and site risk; low background lighting with motion-triggered higher output may be suitable in some areas. | Approximately 4–8 m | Identify gates, access points, camera fields of view, boundaries, and potential obstructions. Avoid glare that can impair visibility. | Confirm sensor range and response time, and ensure the battery can support expected activation frequency as well as the baseline lighting schedule. |
Note: Lighting levels and mounting heights above are indicative planning ranges, not universal requirements. Final selection should follow applicable local standards and a photometric design. Size the solar panel and battery using the site’s worst-month solar resource, operating hours, system losses, and required days of autonomy.
Related Posts
-
China Best Solar Street Lights Outdoor for Global Buyers
-
2026 Top Solar Street Lamp Types for Global Buyers
-
Top 10 Solar Street Lamp Suppliers Worldwide
-
Why Choose Solar Street Lights Outdoor for Global Projects?
-
How to Choose Solar Powered Street Lights
-
How to Find China Top Solar Panel Lights Suppliers?
